


 Hey Craft Warehouse fans, Michelle here to share some festive holiday cards created using Lawn Fawns Peace Love Joy paper collection. I love this collection as is combines traditional and nontraditional elements and colors to create a fun holiday collection that can be used for much more than just Christmas cards. I also got to work with some fun embellishments, stamps and dies.
Merry & Bright Tag Card

The first card I created using one of the patterned paper sheets that is an assortment of tags.

Trim a white piece of cardstock to 5 1/2" x 8 1/2" and fold in half to create a card base of 4 1/4" x 5 1/2". Trim green plaid paper to 4" x 5 1/4" and red paper to 3 3/4" x 5" and trim the tag from the sheet of tags.

Adhere the green plaid to card base and red hearts and stars paper on top of the green.

Add the tag.

To add the star to the tag I used a scrap piece of the red star and heart patterned paper and I used a coordinating die to die cut the star from the patterned paper.

It just so happens that the smallest star die is a perfect fit to die cut around the star on the paper. It's a great way to use the die and paper together and you can make the most of small scraps of left over paper.

Attach the star to the top center of the card and you finished. A quick simple card for the holidays and with a sheet full of tags you could have a set of cards in no time.
Gift Card Holder

Next I'd want to show you how to make a cute gift card holder using a piece of patterned paper and one of the tags.

First start by trimming a piece of patterned paper to 7 3/8" x 5 1/8".

With the long side parallel to the top of the Martha Stewart score board or other scoring tool, score the 7 3/8" side at 2 1/2" and 5".

Flip so short side is at the top and score at 1".

Use a pencil to mark both short sides at 3 1/2". Note - mark on side closest to the 1" score line.

Once your paper is marked, use a paper trimmer to trim a diagonal from the pencil mark to the score line on the top that is closest. Repeat for the other side.

Trim the bottom flaps outside the bottom 1" score line and the nearest score line. Then use scissors to cut a slight angle to the edges of the remaining piece in the center.

Now it's time to assemble the holder, start by placing adhesive on the side of the patterned paper that will be facing out.

Fold the bottom flap up (adhesive should be on the outside so you can slide the gift card in and out completely. With bottom flap up, fold one of the side flaps over.
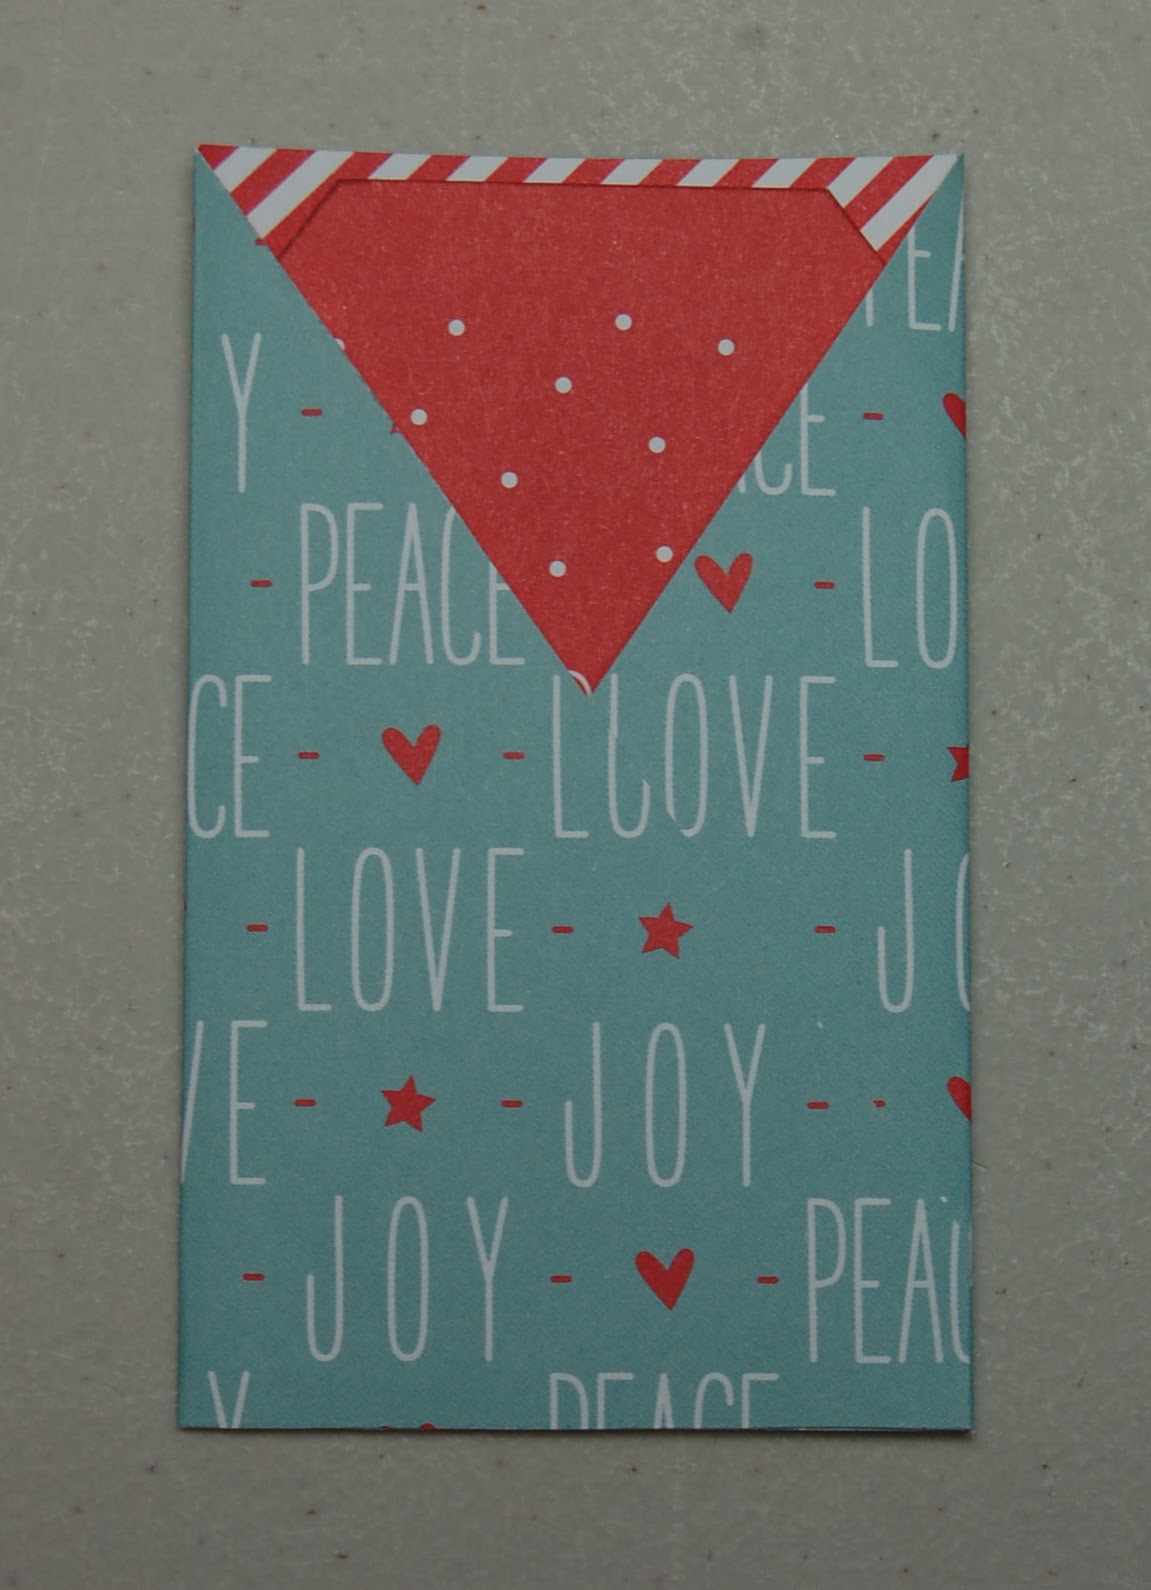
Now put adhesive on the other flap, being careful to only place it where it will adhere to the first flap and not the back side of the card.

Slip in your tag. Cut a strip of coordinating patterned paper 1" x 6" and wrap it around the gift card holder. Gently crease the sides to form around the base and adhere the back pieces together. This piece will slide up and down.

Attach a flair button from the coordinating flair pack of embellishments and your gift card holder is complete.

Attach a gift card to the back side of a tag and slide it in the gift card holder.

Check back tomorrow for more holiday card inspiration.
Michelle

No comments:
Post a Comment
Thank you for your feedback! We love hearing from you!